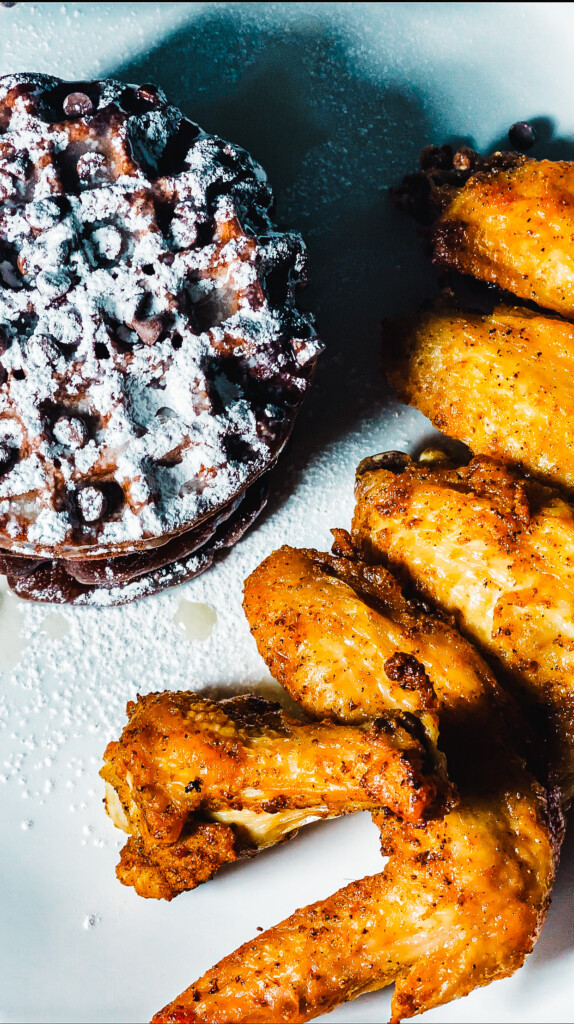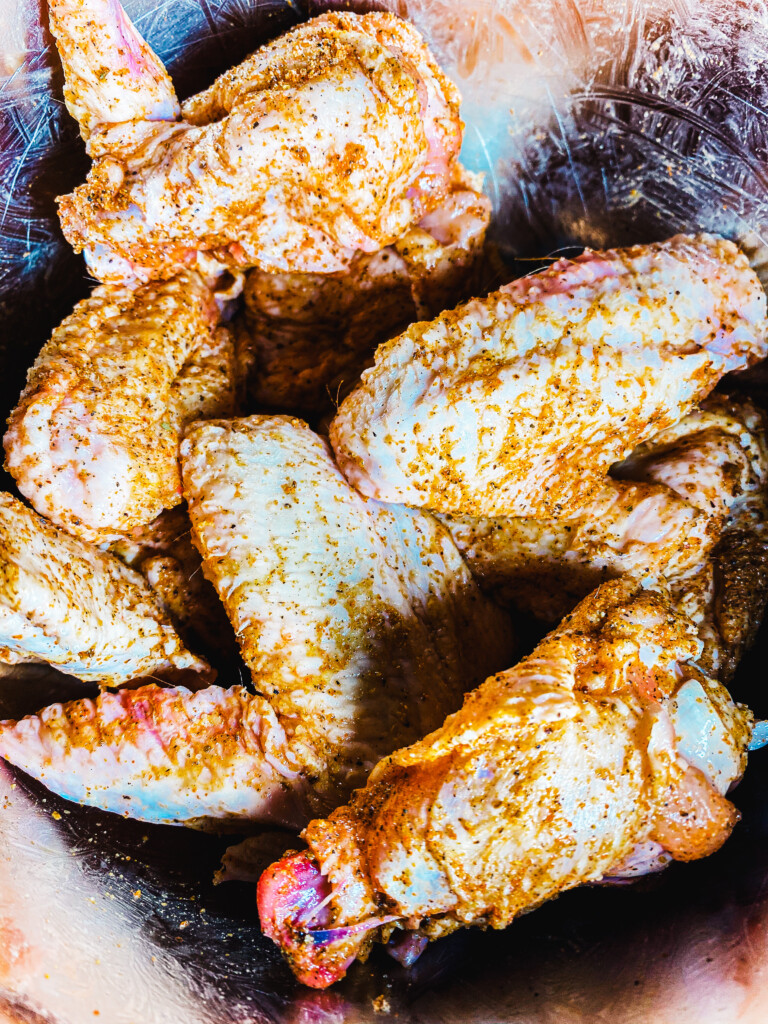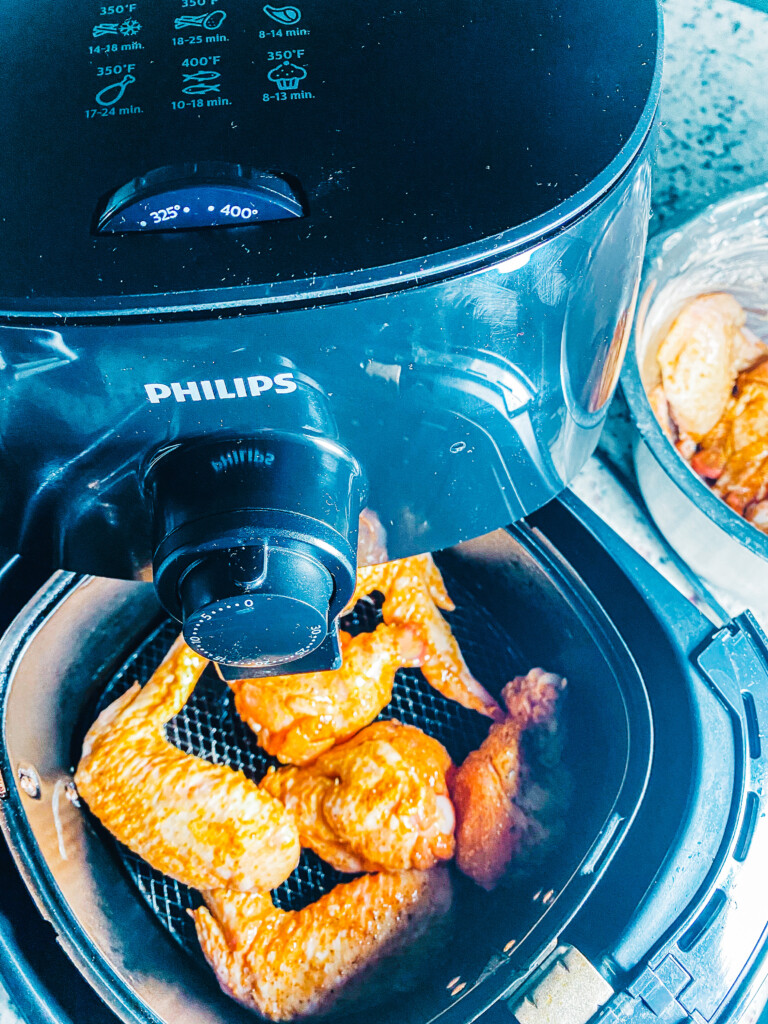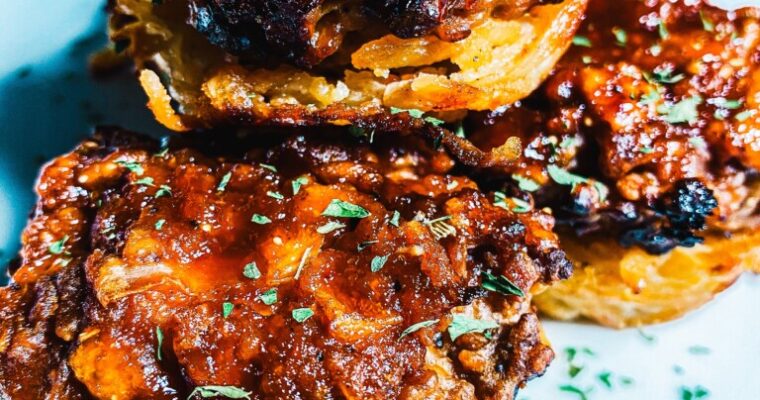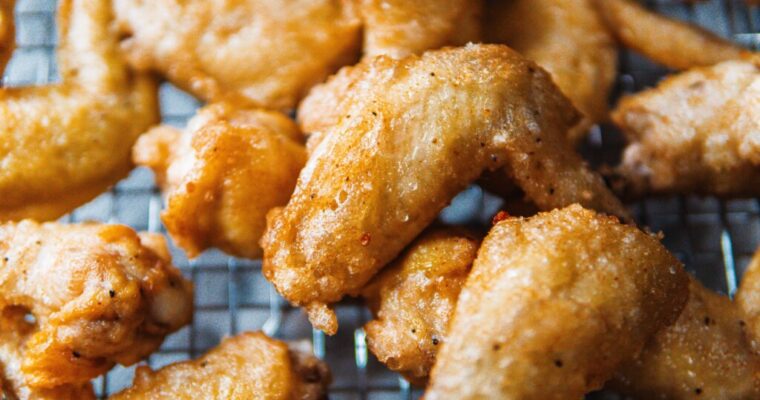
Korean Fried Chicken Wings
It wasn’t until I learned about a Korean franchise Bonchon that I learned of what is called Korean Fried Chicken. This double-fried tender chicken is something that changed my thought of fried chicken 3-4 years ago that has led me to want to recreate this…